Now that it’s officially *chilly* outside, we wanted to send out our monthly blog with a little seasonal flair. That’s right, it’s the time of year for spookiness and seasonal closet swaps!
Instead of walking you through the seasonal swap process step-by-step (that’s a blog for another time), we want to share a little extra insider info (some Sage Wisdom if you will 😉). In this blog, we’re shelling out pro tips and practical steps you can utilize on your next seasonal swap (even if you’ve already completed yours for this season!).
Let’s dive in!
PHASE 1: BEGIN YOUR SWAP WITH AN EDIT
Starting off your swap with an editing session will help you set up your “new” closet and pack away your off-season items in a jiffy. When you pull out the items you plan to pack away, start off by editing out any items you no longer wish to hang on to. If you didn’t wear that top in the last 6 months, it’s time to say thank you and goodbye. 👋
Pro tip: When you unpack your items for the season, hang them up with the hanger backwards (stick with us here). Each time you wear something and put it back in your closet, switch the hanger to face forwards. At the end of the season, all the hangers that are facing forwards provide a very clear visual of what items you are actually wearing and which ones got no love. (hint: those are the ones to say goodbye to!). This may also help you distinguish why you haven’t worn an article of clothing. No longer the right fit? Your style has changed? Damaged beyond repair? Time to let it goooo.
Sage Wisdom: If you have two similar items that serve “similar” purposes and you always seem to grab one over the other, it’s time to part with that 2nd choice option. It may not be your first choice but it could be #1 for someone else! Toss it into a donation pile.
Ready to tackle the editing phase but aren’t sure where to donate your items? Check out our Professional Organizers Guide to Decluttering Every Space in Your Home for where to take all your giveaways!
PHASE 2: PACK AWAY THE OLD SEASON
This may not seem like an important part of the swapping process but we promise it will be worth your time to give this step a little extra attention. Packing up thoughtfully and intentionally now will make it that much easier in 6 months when it’s time to do it all over again!
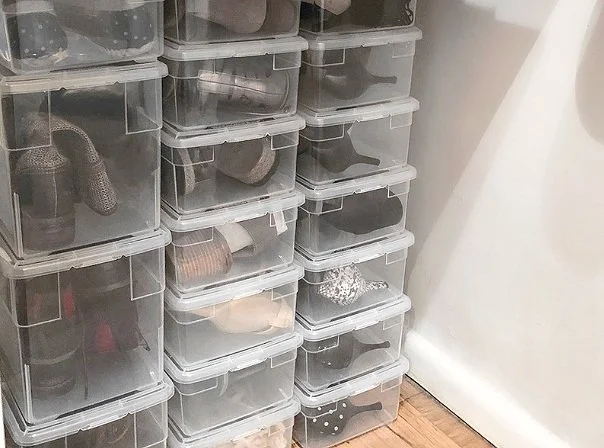
Pro tip: Keep like with like and LABEL! Keeping like items together will simplify your packing process and allow you to know where your things are going. Labeling those bins with general descriptions (“seasonal tops”, “seasonal bottoms”, “seasonal accessories”, etc.) will help you even further, especially in the event you need to pull out an off-season item for any reason (hello, beach vacation!).
Sage Wisdom: Be on the lookout for any items that may need laundering or repairs and address those BEFORE packing. If you don’t do it now, there’s a chance it may not happen at all. 😉
PHASE 3: SET UP THE NEW SEASON
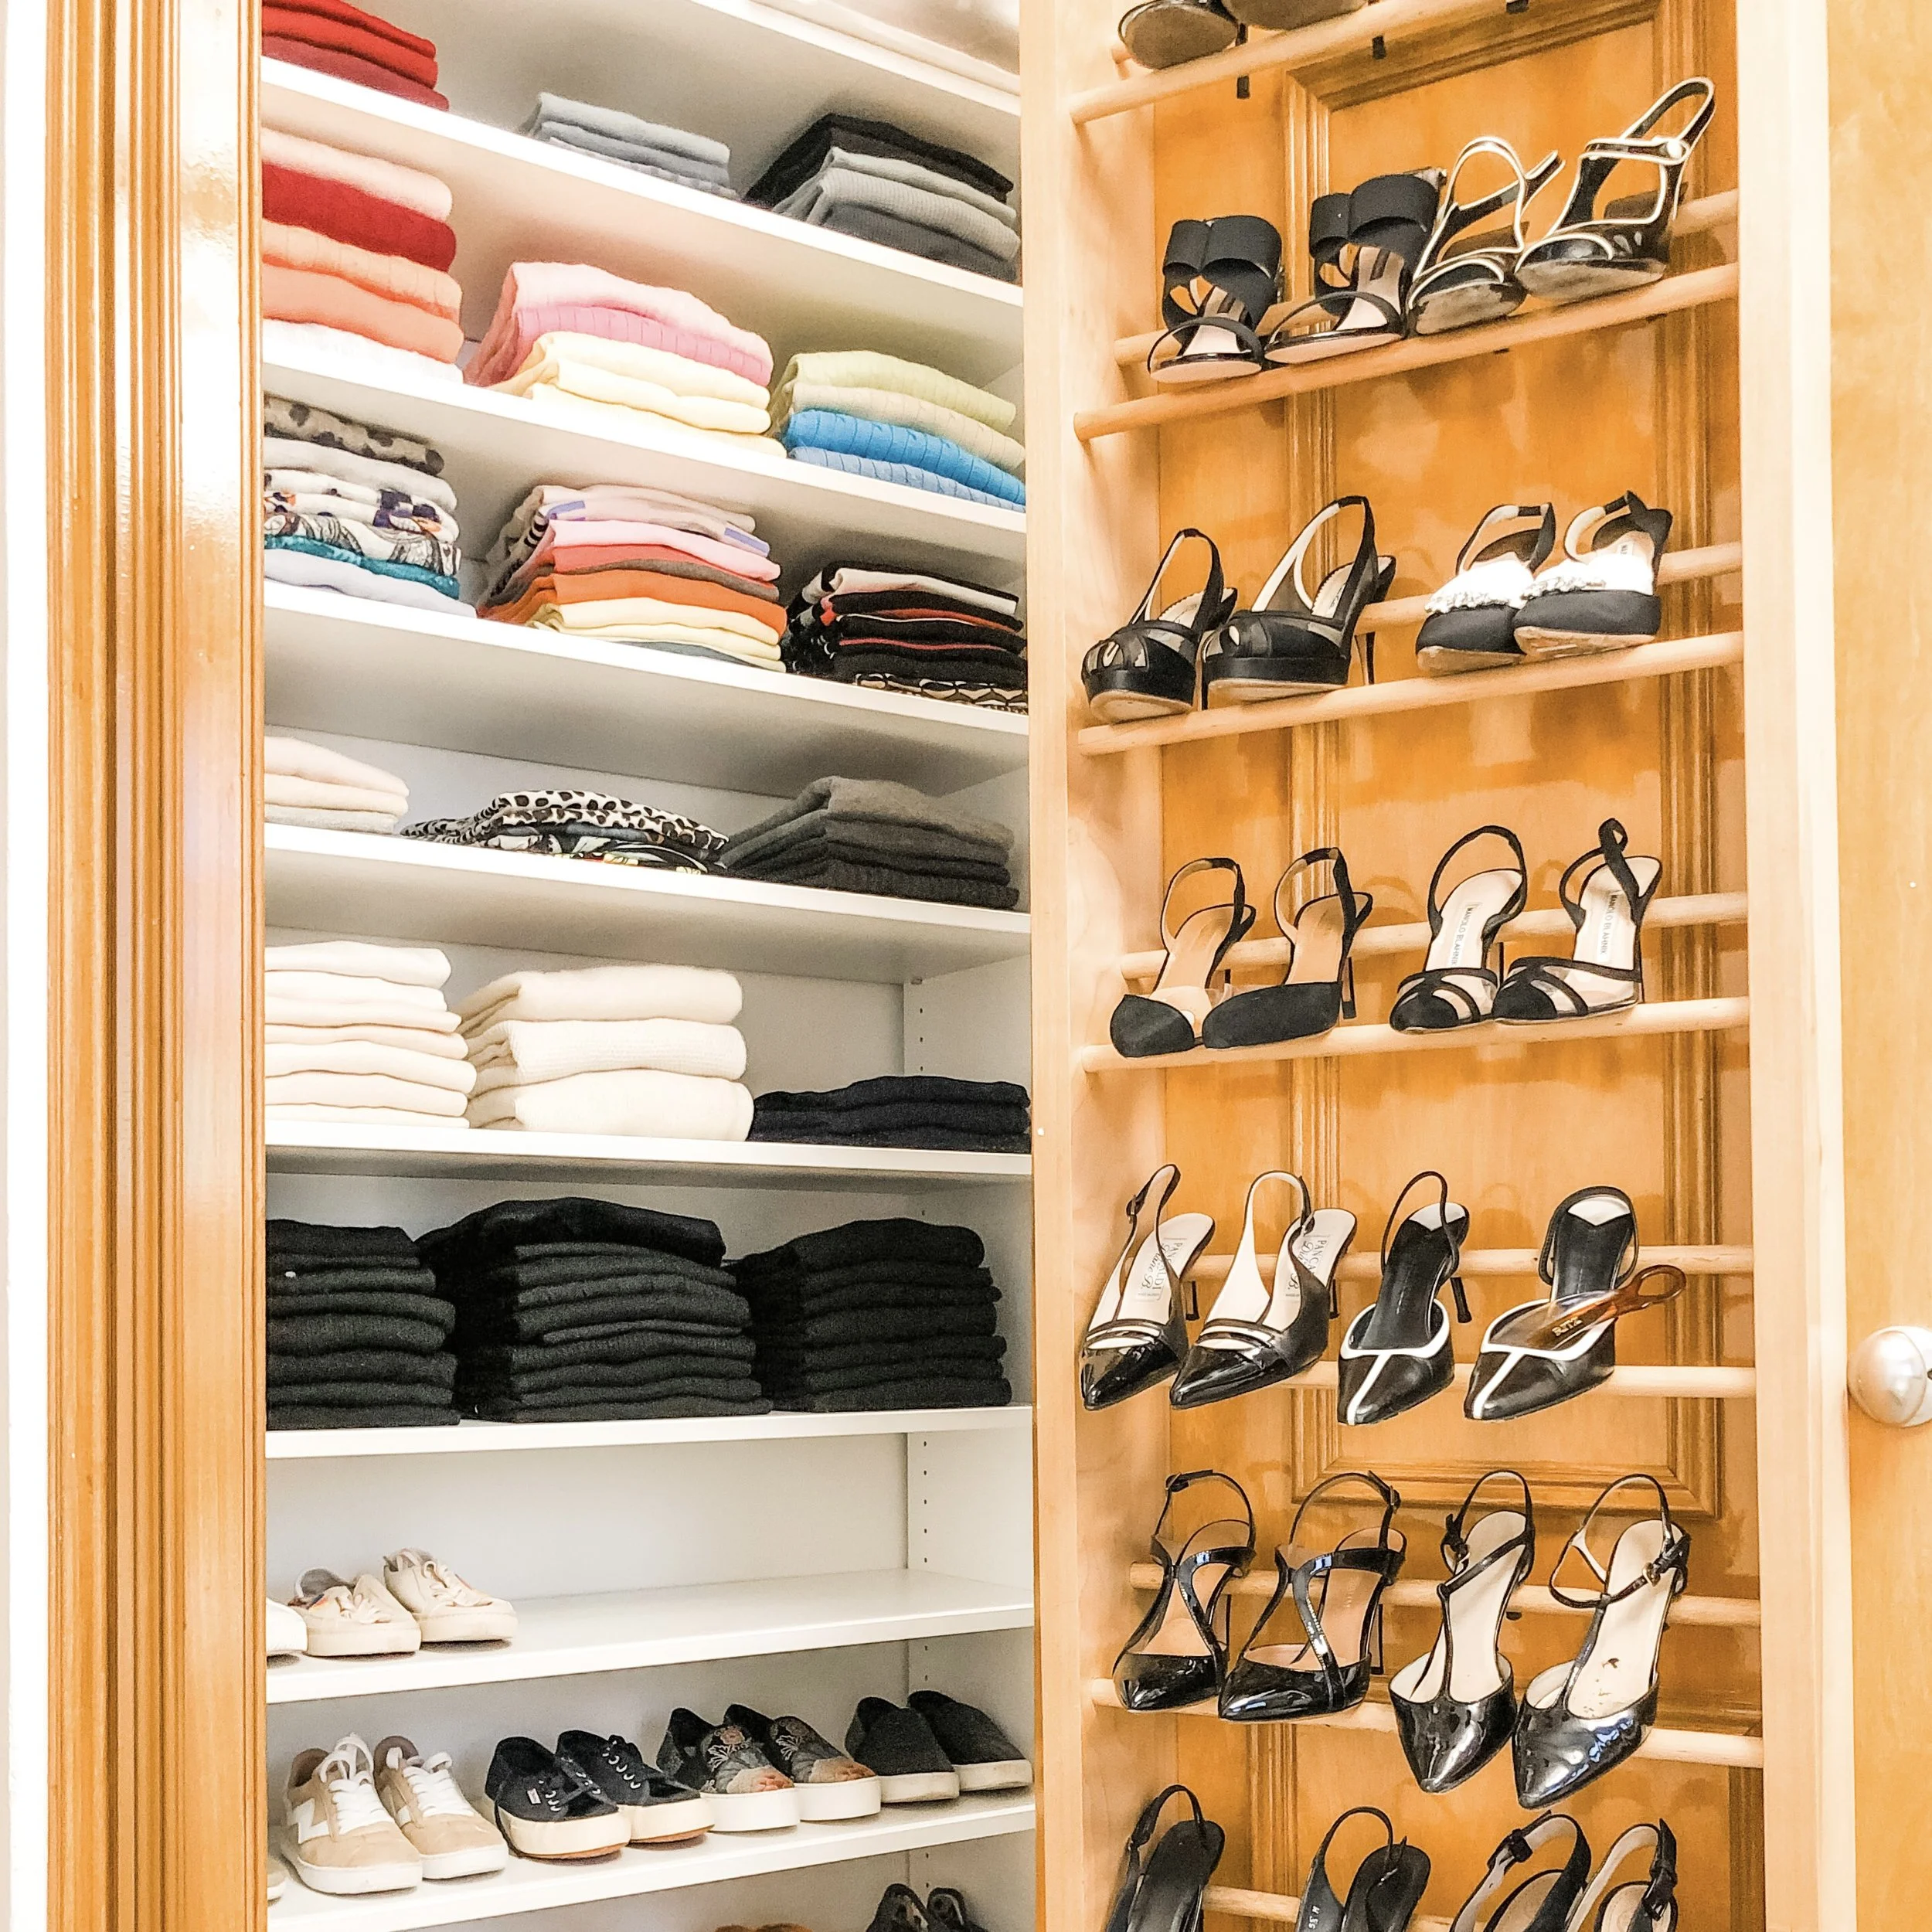
Okay, now for the fun part - setting up your “new” wardrobe! We want you to feel like you’re entering your very own shop when you walk into your closet. It should not only be functional for the items that are in your closet now (not the ones that just left)but it should also be clutter-free and beautiful so that you are excited to get dressed every morning.
Pro Tip: Keep like items with like items (similar to what you should do when packing up for storing!). Your items will fit together more efficiently this way, allowing you to fit more things AND to give you an intentional and curated space (ahem… your very own boutique!)
Sage Wisdom: Utilize “prime real estate” for daily/frequently used items. These should be areas that are most accessible and at (or near) eye level. Infrequently used items, such as clothing or accessories for special occasions, should be located at the top or back of the closet.
Each part of the process of swapping in and out clothing can domino effect the others so it's important to handle each phase with intention and care. Ensuring you are editing as you go can help you recognize the items you love and what sort of things you might be able to do without moving forward. Packing away with thoughtfulness can make it even easier when the time comes to pull those items back out of storage. Lastly, setting up your closet for the season should be a fun chance to re-invigorate your wardrobe and feel like you have a boutique in your own home! Even if you’ve already completed your seasonal swap for the fall, we hope these tips stick with you and help you streamline your closet swaps from here on out!
Don’t forget to download our Professional Organizers Guide to Decluttering Every Space in Your Home for help on where you can take donations or items for recycling!


